We moderators are a very fussy lot. We will assess if your images meet the site standards, and if they don't we will send them for further editing, which means that anything you enter won't feature in the 'Latest Additions' list. Amoung the things that cause us to 'send for further editing' are :
As the use of cameras has become more common, we also see lots of images that suffer from perspective distortion.This happens where the item being photographed is tilted away from the camera, either from top to bottom, left to right, or in both directions. These images are not simple to bring up to site standard by editing, and a later section will cover how to do this properly, but I'll suggest a quick-and-dirty way of easily making circular images acceptable, even if not completely correct.
One thing that is important is that your scan or photograph of the item MUST have all of the item in it. We see far too many circular label images where the item has been scanned or photographed inside a record sleeve and some of the image has been obscured. We also see things like LP covers where the image has been cropped to remove the background, but because of perpective distortion useful parts have been cropped out. There is no way we can fix these images, and even if we edit them to site standard, they produce very poor images with bits missing.
If you scan items you will sometimes find that some items are too big to fit your scanner. LP covers are a prime example. However there is a very handy bit of free software produced by Microsoft called Image Composite Editor that will stitch multiple scans together to form a single image. It can be downloaded via the page here which explains some of the things you can do with it.
The editing software used in this tutorial is the free Paint.net which many moderators use and recommend.
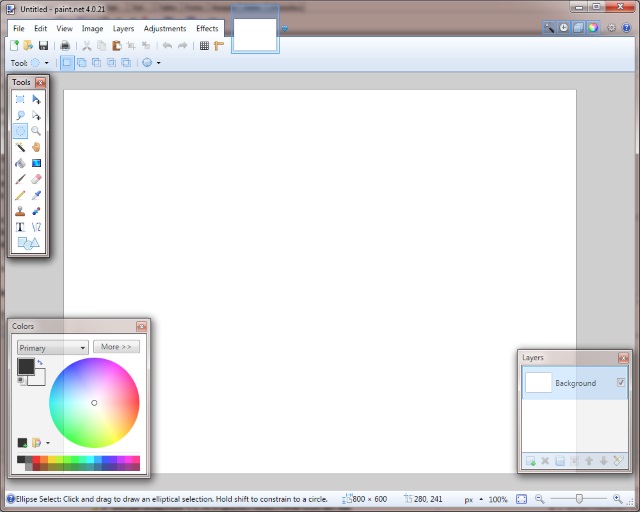
When you first start Paint.net you will see something like this:

You won't need to use the toolboxes labelled 'Colors' and 'Layers' (at lower left and lower right) so you can close these to make things less cluttered. We will only use the menu system and the 'Tools' box in this tutorial.
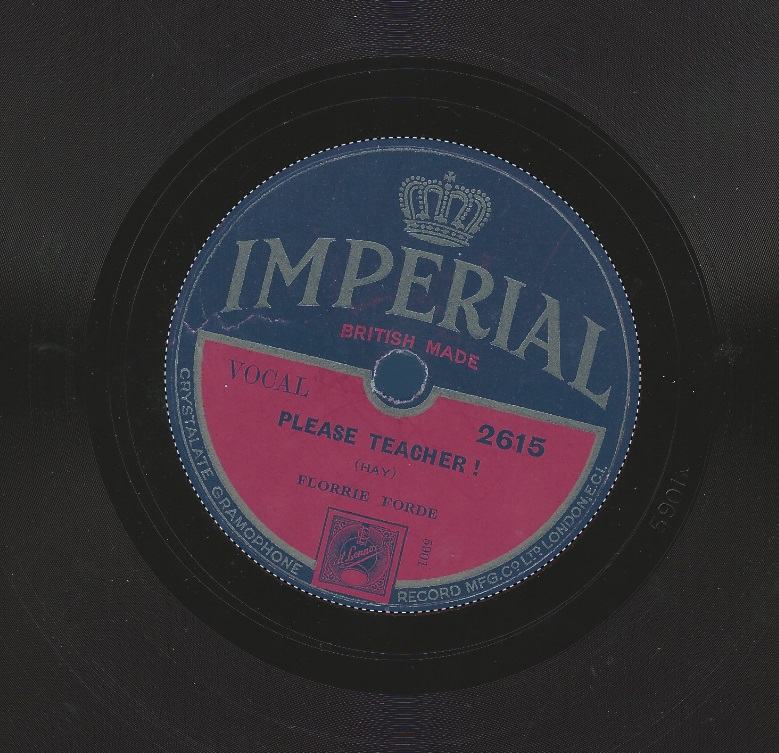
There are lots of 'circle' images on 45Worlds like LP and 78rpm record labels and CDs. You only need to be able to crop to a circle and then rotate the image to make the text horizontal. So open up an image using the File - Open menu option. You should see something like this :

Click on the 'Circle Mask' tool in the 'Tools' box. It looks like this :
![]() . Then hold
down the shift key, left mouse click and hold on the edge of the label,
drag the mouse until the dotted circle covers the label, and release the mouse
button. It takes a little practice, and you can keep repeating until you get it
right, but you should end up with something like this:
. Then hold
down the shift key, left mouse click and hold on the edge of the label,
drag the mouse until the dotted circle covers the label, and release the mouse
button. It takes a little practice, and you can keep repeating until you get it
right, but you should end up with something like this:
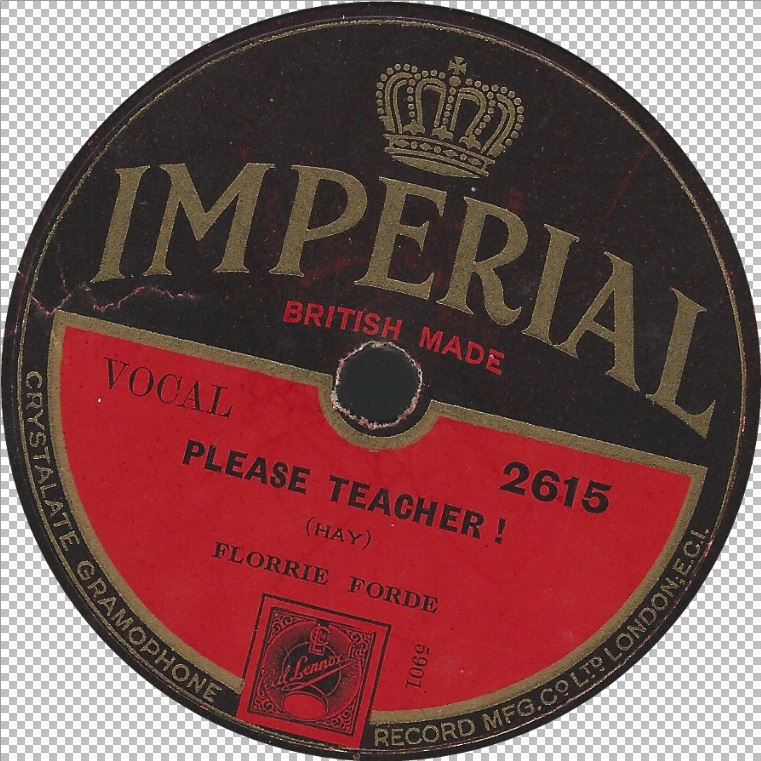
Now go to the menu, select Image - Crop to Selection, and you will see something like the image below, where the alternating grey and white box pattern shows what will be filled with white when saved. Note that Paint.net will autosize the image to fit the screen if it is too big.
Next we need to rotate the image to make the text horizontal. On the Menu select Layers - Rotate/Zoom and the Rotate/Zoom controls will be shown thus :
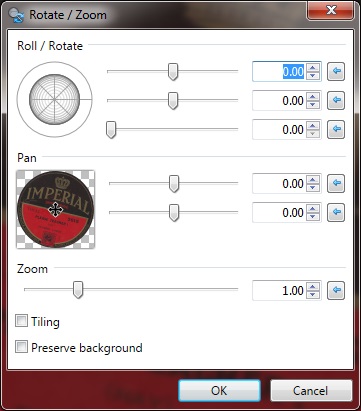
By using the up/down arrows on the top right control (shown with a blue highlight) you can rotate the image by 1 degree at a time to get the text horizontal.This will produce an image like that below. Tip: I usually set the value in the top right control to 0.50. This gives you finer control when trying to get the text horizontal, as you can use two passes of rotation to get the text horizontal 'near perfect'.

To add the final touch, tidy up the centre hole by drawing inside it with the 'circle mask' tool and then pressing the delete key to 'cut out' the hole.
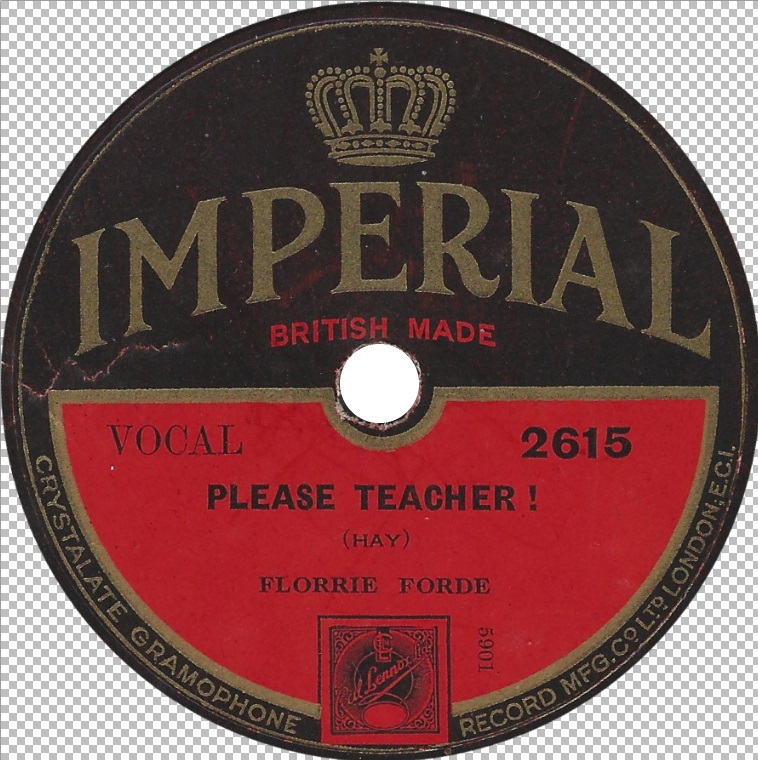
Then save your image using menu File - Save As. The optimum size for an image is 800 by 800 pixels, so you may want to resize it. This can be done with Image - Resize menu option, which will display a Resize control. Ensure that the 'Maintain Aspect Ratio' box is ticked, otherwise you will distort the image.
The procedure for editing rectangles is alomost exactly the same as editing
circles, but you may need to do the 'Rotate' operation first to get the sides
of your image straight. Then select the 'rectangle mask' tool from the Tools box
![]() (top left),
left click and hold on one corner of the rectangle, and drag the mouse. If you
find this difficult, you can adjust the sides or corners of your rectangle by
selecting the 'mask move' from the Tools box
(top left),
left click and hold on one corner of the rectangle, and drag the mouse. If you
find this difficult, you can adjust the sides or corners of your rectangle by
selecting the 'mask move' from the Tools box
![]() . This will
give you circle markers on the corners and sides which you can grab by using
point, click and drag with your mouse to adjust your rectangle.
. This will
give you circle markers on the corners and sides which you can grab by using
point, click and drag with your mouse to adjust your rectangle.
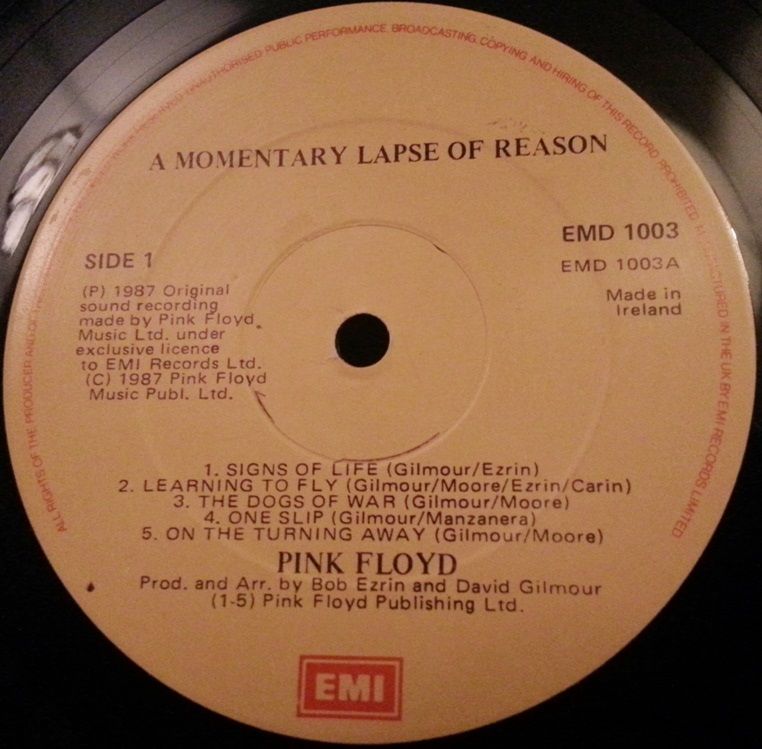
This method will only work on certain labels (depending on the patterns on them) and with slight perpective distortion in one direction only. In the two labels shown below, the Paramount label has vertical distortion, whereas the EMI label has distortion in both directions, which can be easily seen with the upper and lower texts not being parallel.
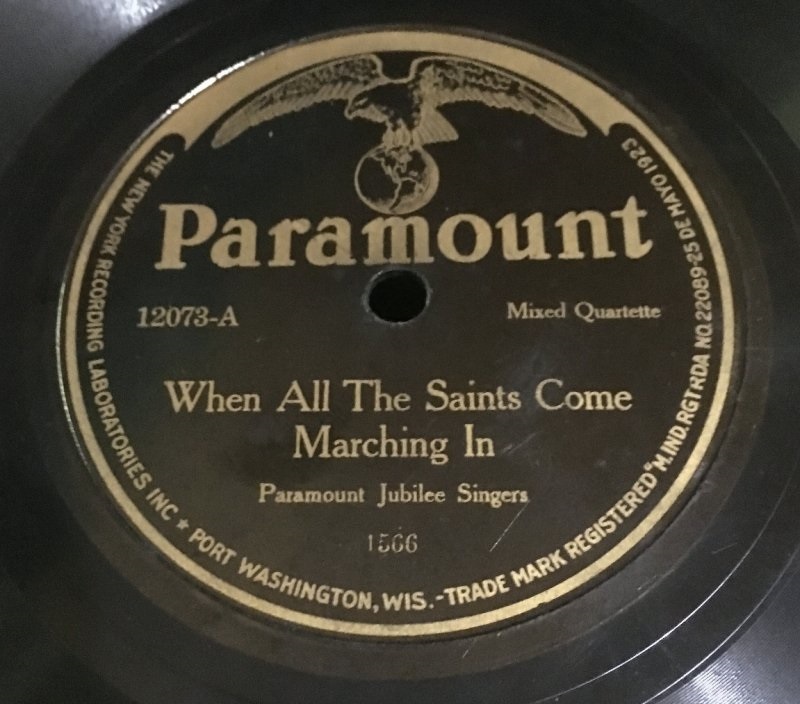
The Paramount label will be used in this example. The image is loaded (menu
File - Open), the whole image is selected (menu Edit - Select
All), and then the mask move tool ![]() in the Tools Box is selected. The mask is then moved so the sided are just
touching the label, as below.
in the Tools Box is selected. The mask is then moved so the sided are just
touching the label, as below.
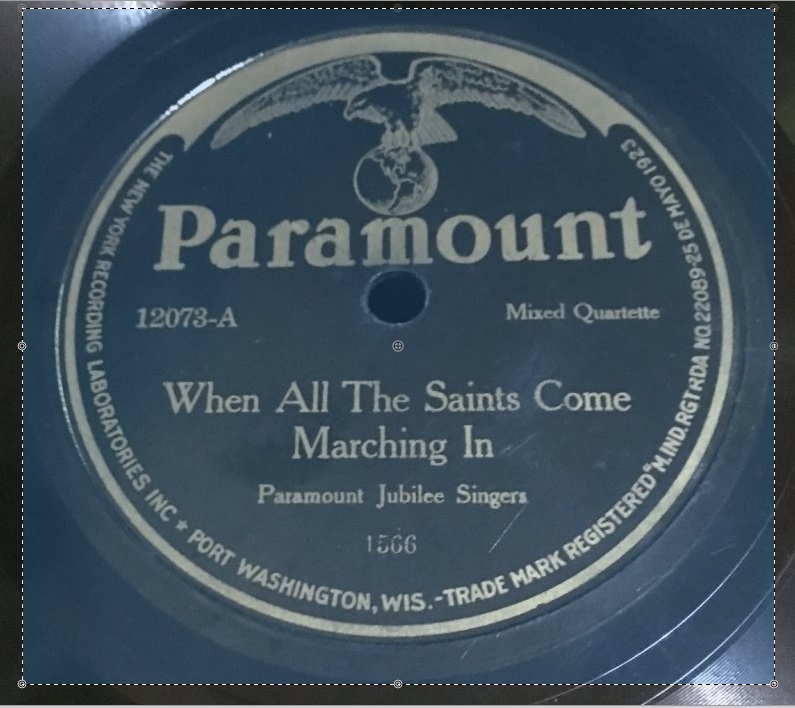
Crop the image (menu Image - Crop To Selection), select Image - Resize from the menu and you will get the Resize control dialogue:
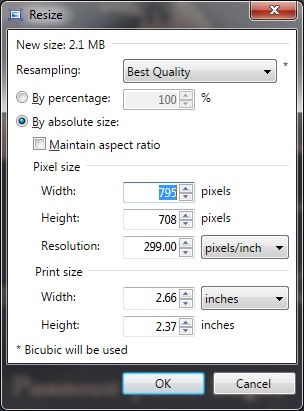
Make sure that the Maintain Aspect Ratio box is NOT checked. Then find the smallest number in the width and height boxes, and change it so it is the same as the biggest number (in the image above you would need to change the 708 to 795). Press OK and you should see your image change to something almost a circle!
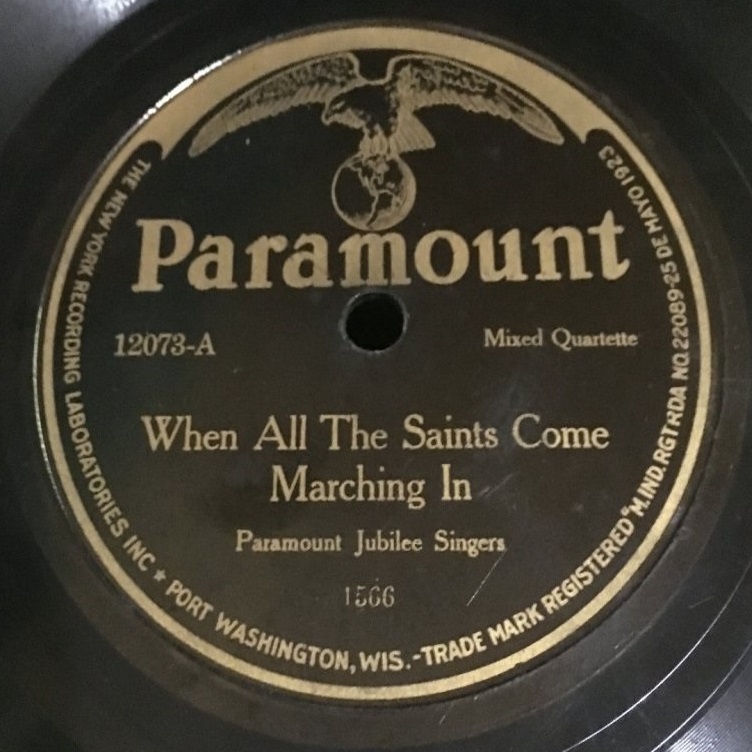
Now continue exactly as the instructions in the Editing Circles section at the beginning of this tutorial. You will never obtain a perfect image, but at least it won't look too bad in the listings.
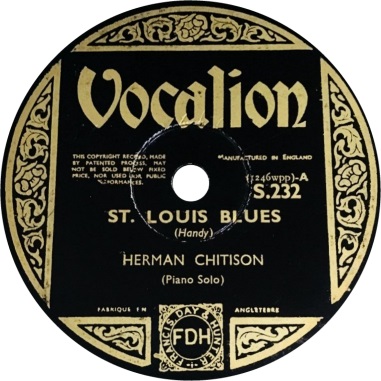
However, as I mentioned at the beginning, certain label patterns won't make good images, and you need to apply proper perspective corrective to these. An example is the Vocalion label below, corrected using this easy method.
I have recently discovered a plug-in for paint.net which makes editing perspective distorted rectangles much easier than before. The add-on is called Quadrilateral Correction and there is a short tutorial on using this here.
If you'd like to find out how to make near perfect images from all those images with perspective distortion continue on to PART 2, otherwise good luck with your editing, and remember that if you do hit problems there are always lots of Paint.net users to help you if you post a question on the Forums.