Many of the images submitted to 45Worlds have perspective problems and although paint.net is a superb editor for most images, it does not perform well when solving perspective problems. Its controls operate far too coarsely and make perspective changes difficult.
A much easier program to use for these problems is JpegView which is free and open source. This page provides a brief introduction to the program and methods to use with the program when correcting perspective problems.
On first opening JpegView you will be presented with an 'Open File' window. Usually you will have previously copied an image from 45Worlds into the clipboard, and this window can be ignored by pressing the 'Cancel' button. You will then see a blank window.
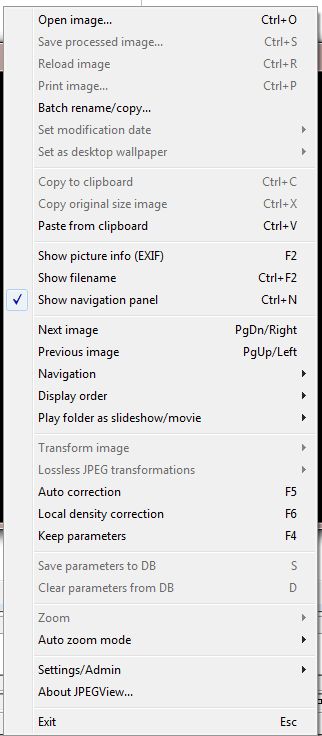
Ctrl-V will paste your clipboard image into the working area, and Ctrl-O will re-open the 'Open File' window. If you prefer to use a menu system, a right-mouse-click will display the program's main menu and allow you to select the action you require :-

When you have loaded an image into the program, two other control areas become available. When your mouse is over the image or just below it, the major control area will appear below the image, or over it if the image uses the whole window area. Hovering your mouse over any control will bring up a label telling you its function.
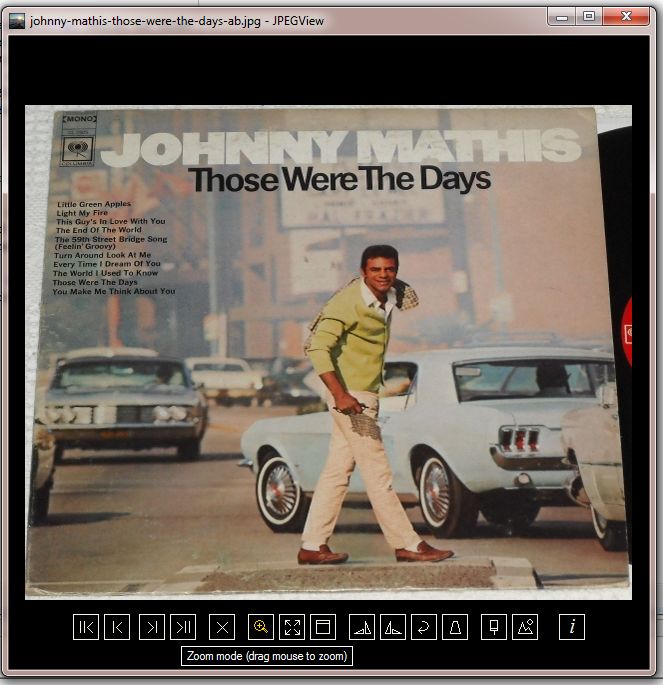
Moving the mouse to the bottom of the window brings up another control area :

If you have a mouse with a wheel, you may zoom in and out using the wheel.
Before moving on to perspective, its worth mentioning the crop facility. This
is a slight improvement over paint.net as the borders of the crop area can be adjusted.
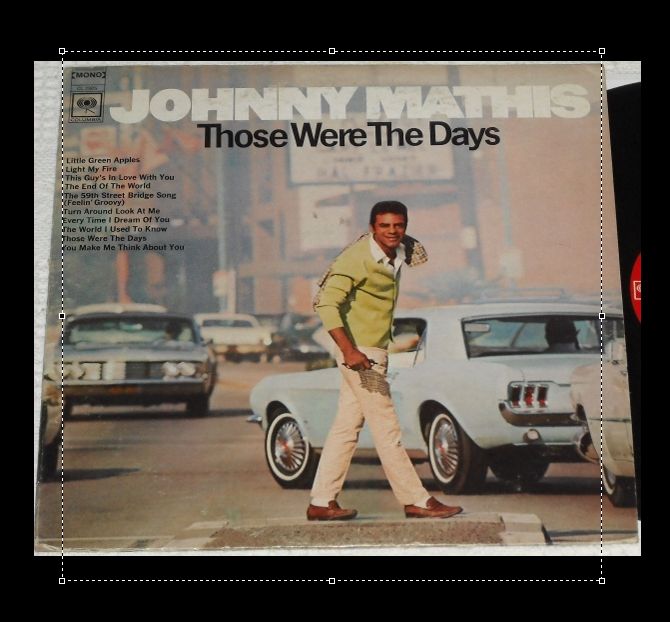
With no tool selected, the area is is defined by left-mouse-click and drag. When
the mouse button is released, the sides of the crop area can be accurately
repositioned by click and drag on the small boxes on the corners or in the
middle of each side. The crop confirm dialog is shown on right-mouse-click.
This short tutorial will use the Johnny Mathis LP cover shown above. Select
the vertical perspective tool
![]() and the image
becomes shown in a grid.In the tool dialog that is shown, click on the auto-crop
tool
and the image
becomes shown in a grid.In the tool dialog that is shown, click on the auto-crop
tool ![]() to
ensure it is not highlighted. To correct perspective left-mouse-click and drag
to align the edges of the LP cover with the vertical lines of the grid. This
will produce an image like this: -
to
ensure it is not highlighted. To correct perspective left-mouse-click and drag
to align the edges of the LP cover with the vertical lines of the grid. This
will produce an image like this: -
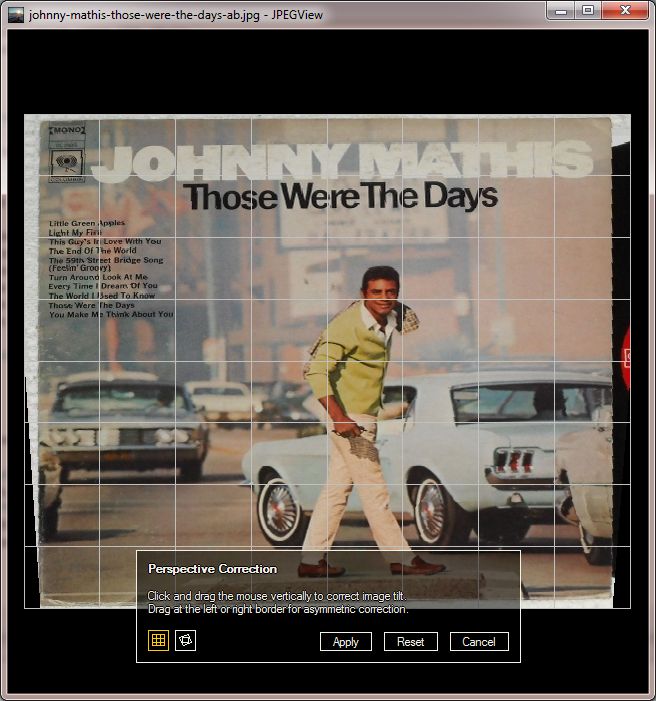
Pressing the apply button will apply the correction to the image. Although
this operation has corrected the major perspective problem, there is still a small
amount of correction the can be applied in the horizontal. Rotate the image by
pressing the Clockwise rotate button ![]() .
The same procedure as that previously used can be applied to correct a small
perspective problem on the bottom edge of the cover. The image is then rotated
anti-clockwise using the
.
The same procedure as that previously used can be applied to correct a small
perspective problem on the bottom edge of the cover. The image is then rotated
anti-clockwise using the ![]() tool. After cropping, a reasonably correct image is produced : -
tool. After cropping, a reasonably correct image is produced : -
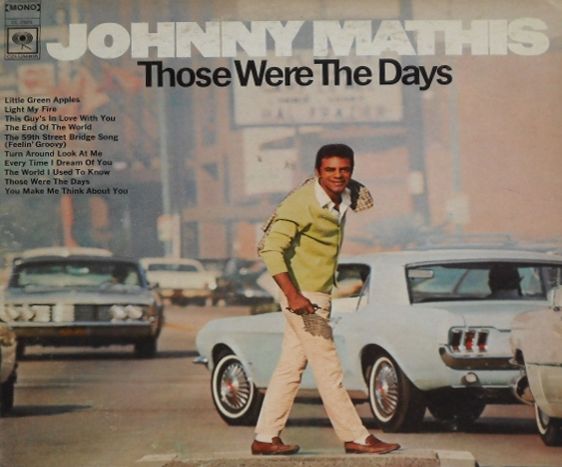
However, we know that LP covers are square, and in this image the height is only 467 pixels compared to a width of 562 pixels. It isn't possible to correct this using JpegView, but this can be done using paint.net. In JpegView right-click and select 'Save processed image', re-open the processed image and right-click select 'Copy to clipboard'. Change to paint.net and select menu item 'Edit - Paste into new image'. You may then resize the image using paint.net menu item 'Image - Resize' with 'Maintain aspect ratio' unchecked.
Some users have found this part of the tutorial difficult to follow so I have written a more detailed tutorial using a step-by-step approach here.
Although you can use the technique above to correct many images, eventually you will find a label image with perspective errors. Most often the errors will not be obvious and you will only discover them when you find it impossible to circle-crop a label. The following technique may be applied to anything with a well defined centre. Here is an image of a label with obvious perspective distortion : -
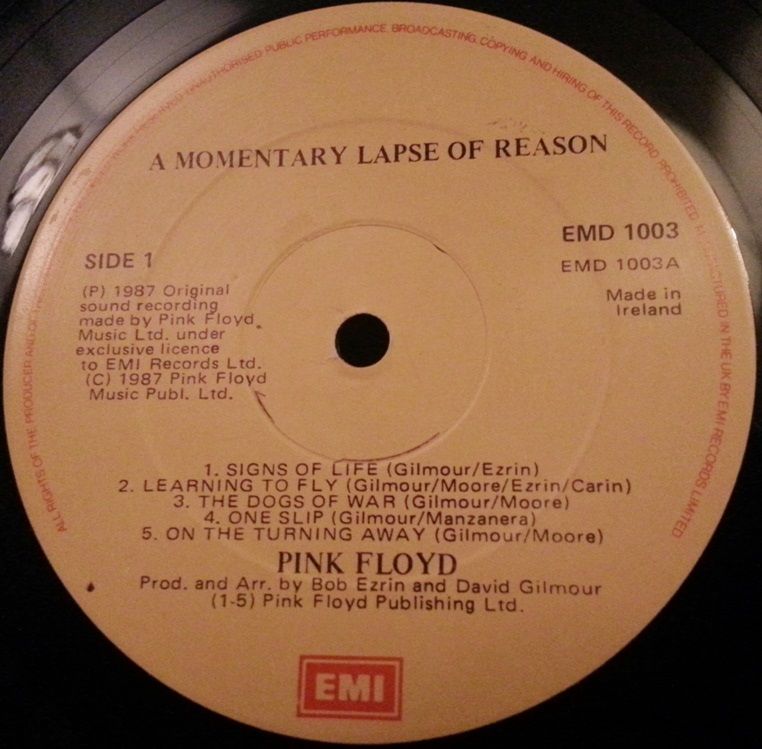
In this image the label area has been cropped to the edges of the label. If the image you are correcting isn't cropped this way, you'll need to crop it like this before using this method.
The method is very simple. You use the JpegView perspective tool to move the centre hole of the label to the centre of the grid by working with rotated and un-rotated views of the image. Hint: In the LP cover perspective, you probably clicked and dragged horizontally to move the edges. You can also click and drag vertically on the vertical centre line of the grid to apply the hole centering equally to both sides.
The first step is shown here, where the perspective tool has been used to move the centre hole towards the centre of the grid : -
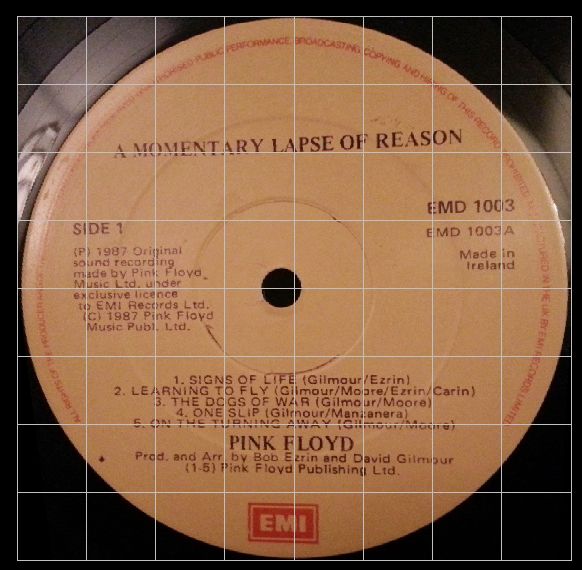
The image must then be cropped to touch the edges of the label. It is then rotated and the perspective tool is used to move the label hole to the centre of the grid :-

The previous operations of crop, rotate, and correct perspective can be repeated until the label hole is properly aligned. The final image below needs to moved to paint.net, increased slightly in height, cropped circular, and rotated. This will produce an image to site standards.
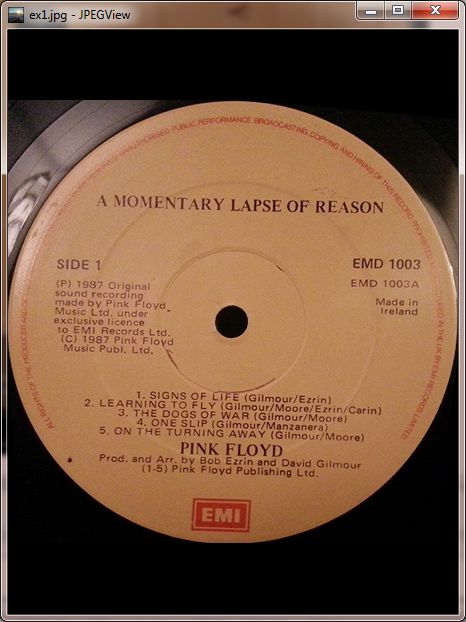
The perspective correction methods discussed here are simple to use, and can be learned very quickly. Corrected images make a big improvement in the overall look of the 45Worlds site.
The auto-crop part of the perspective tool has not been used here, but it can be very useful in speeding up image editing. Its use can produce unexpected results, so I recommend you make a few experimental runs with it enabled to see how it operates.
If you have any questions, I'll be happy to answer them on the forums.
Good luck with your editing!... scrough