Many of the images submitted to 45Worlds have perspective problems and although paint.net is a superb editor for most images, it does not perform well when solving perspective problems. Its controls operate far too coarsely and make perspective changes difficult.
A much easier program to use for these problems is JpegView which is free and open source. This page provides a brief introduction to the program and methods to use with the program when correcting perspective problems.
On first opening JpegView you will be presented with an 'Open File' window. Usually you will have previously copied an image from 45Worlds into the clipboard, and this window can be ignored by pressing the 'Cancel' button. You will then see a blank window.
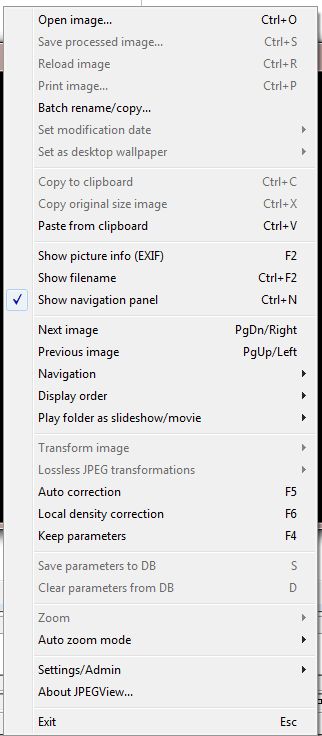
Ctrl-V will paste your clipboard image into the working area, and Ctrl-O will re-open the 'Open File' window. If you prefer to use a menu system, a right-mouse-click will display the program's main menu and allow you to select the action you require :-

When you have loaded an image into the program, two other control areas become available. When your mouse is over the image or just below it, the major control area will appear below the image, or over it if the image uses the whole window area. Hovering your mouse over any control will bring up a label telling you its function.
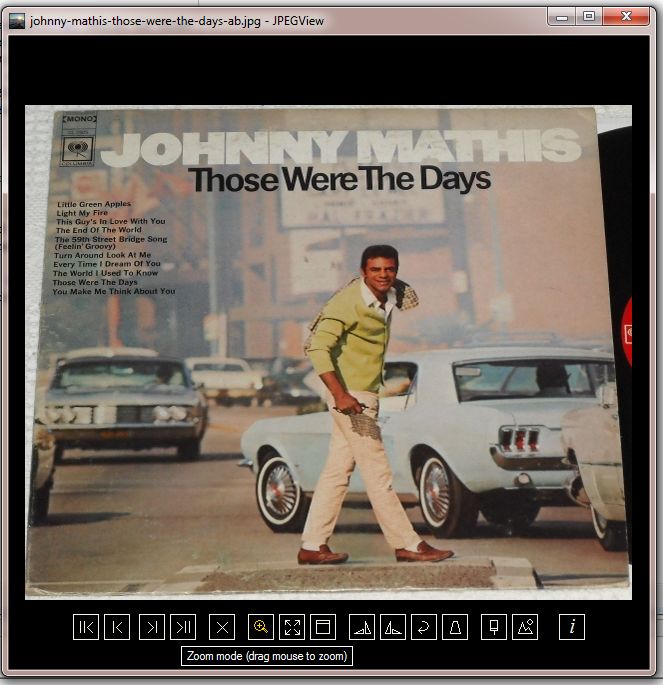
Moving the mouse to the bottom of the window brings up another control area :

If you have a mouse with a wheel, you may zoom in and out using the wheel.
Before moving on to perspective, its worth mentioning the crop facility. This
is a slight improvement over paint.net as the borders of the crop area can be adjusted.
With no tool selected, the area is is defined by left-mouse-click and drag. When
the mouse button is released, the sides of the crop area can be accurately
repositioned by click and drag on the small boxes on the corners or in the
middle of each side. The crop confirm dialog is shown on right-mouse-click.


This short tutorial will use the Matt Dennis LP cover shown above. Select
the vertical perspective tool
![]() and the image
becomes shown in a grid.In the tool dialog that is shown, click on the auto-crop
tool
and the image
becomes shown in a grid.In the tool dialog that is shown, click on the auto-crop
tool ![]() to
ensure it is not highlighted (the symbol is white, rather than yellow). To start
to correct perspective left-mouse-click and drag
to align the right edge of the LP cover with the vertical lines of the grid. I've
used the top and bottom 'S' of 'Dennis' to help with this. This
will produce an image like this: -
to
ensure it is not highlighted (the symbol is white, rather than yellow). To start
to correct perspective left-mouse-click and drag
to align the right edge of the LP cover with the vertical lines of the grid. I've
used the top and bottom 'S' of 'Dennis' to help with this. This
will produce an image like this: -

Pressing the apply button will apply the correction to the image. Then use the left mouse click and drag to crop the right hand edge:

If the 'Crop Confirm' dialog is not showing, a right mouse click will display it.After cropping the image is opened in the perspective tool and the left hand edge is aligned with the vertical grid:

The left hand edge is then cropped:
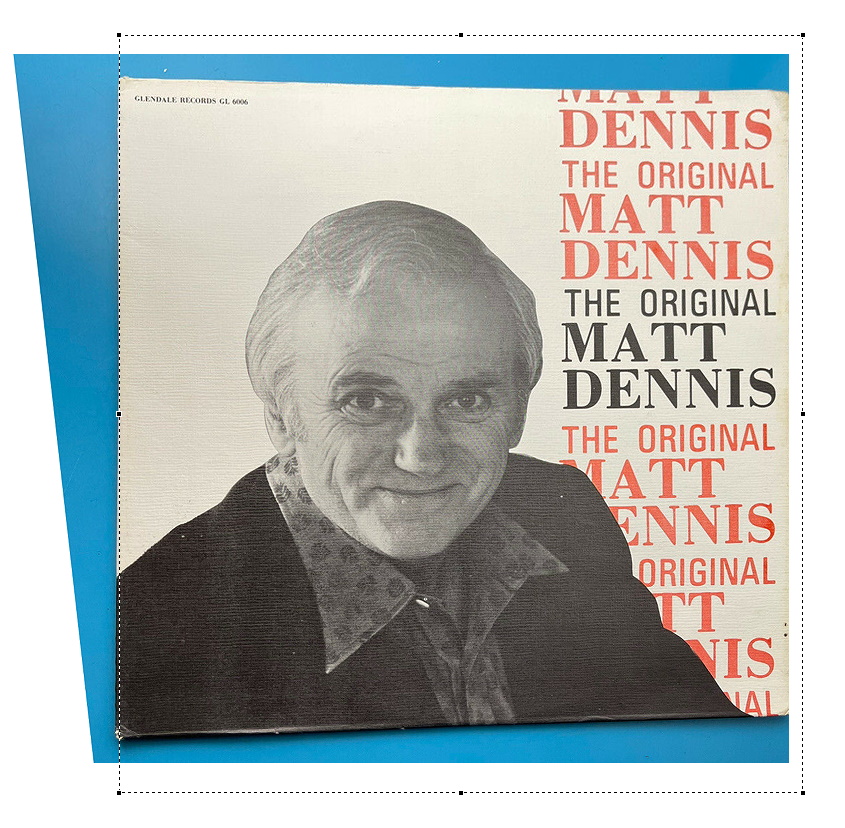
This produces this image:
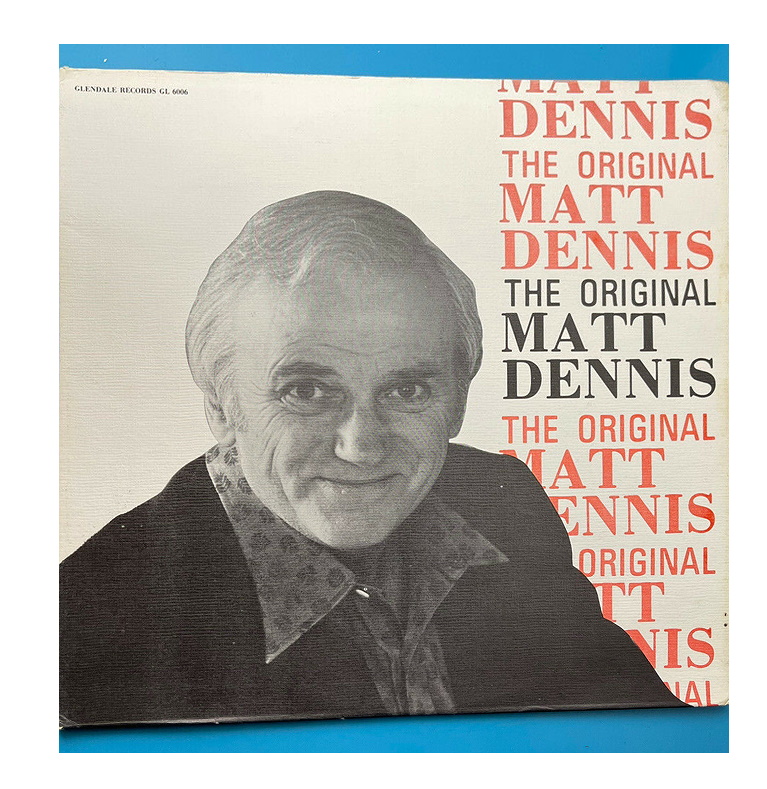
We now need to repeat the previous operations on the top and bottom edges.
To do this we rotate the image 90 degrees clockwise using the Clockwise
rotate button ![]() open the perspective tool, and align the edge on the right with the grid vertical
lines:
open the perspective tool, and align the edge on the right with the grid vertical
lines:
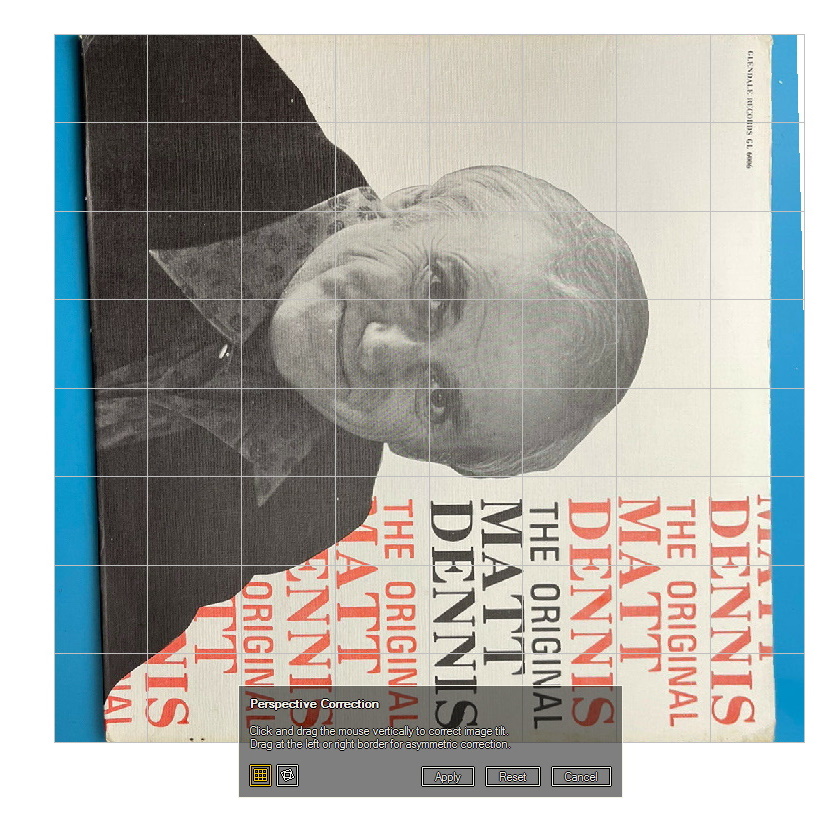
We then draw a cropping rectangle to crop the edge on the right:

After cropping we have:
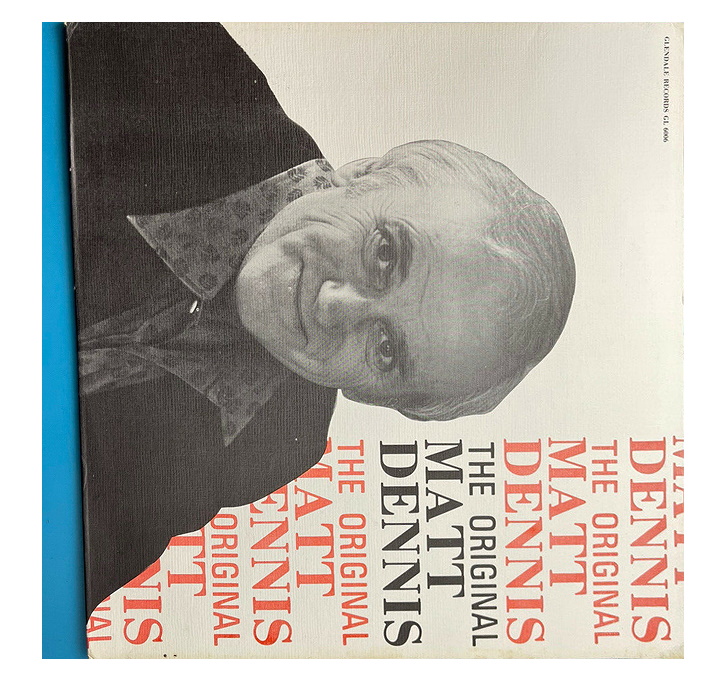
The image perspective correction is finished by aligning the edge on the left hand side:

And then cropping the edge on the left:
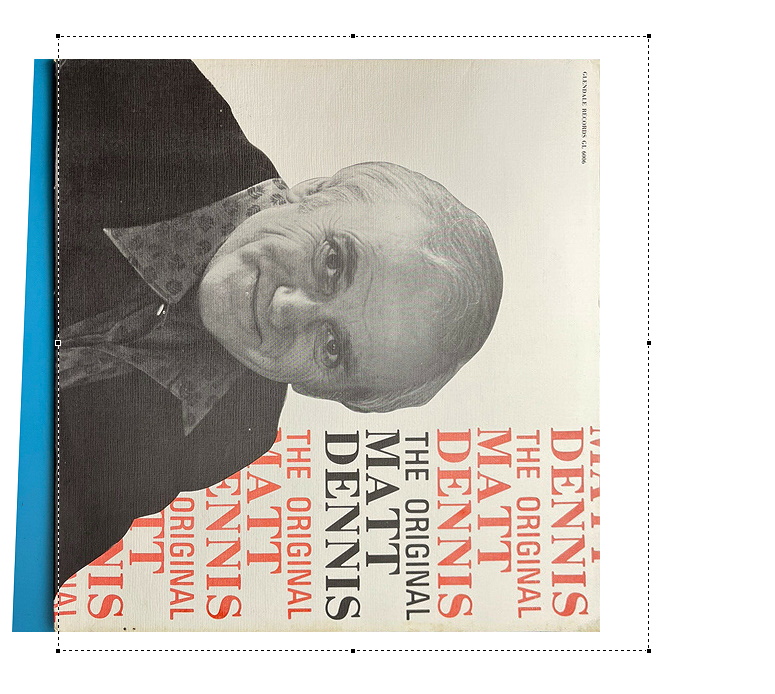
After cropping we are left with this image:
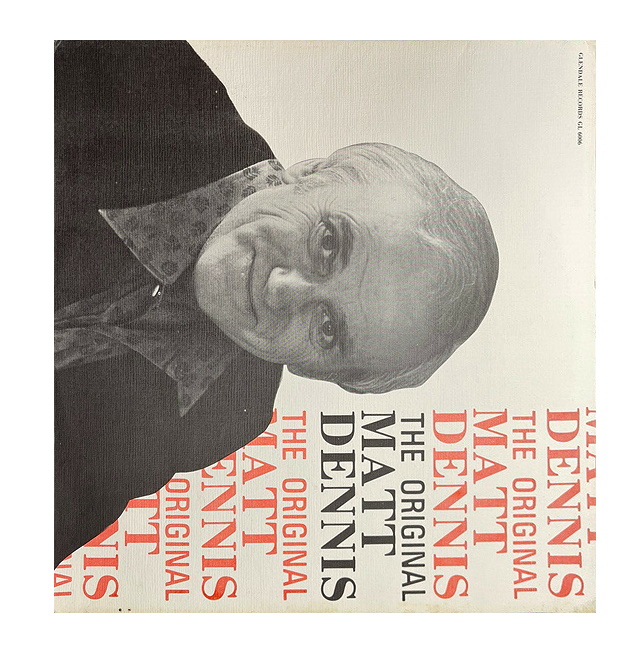
We need to rotate the image 90 degrees anticlockwise using the
![]() tool which
gives us our finished image:
tool which
gives us our finished image:
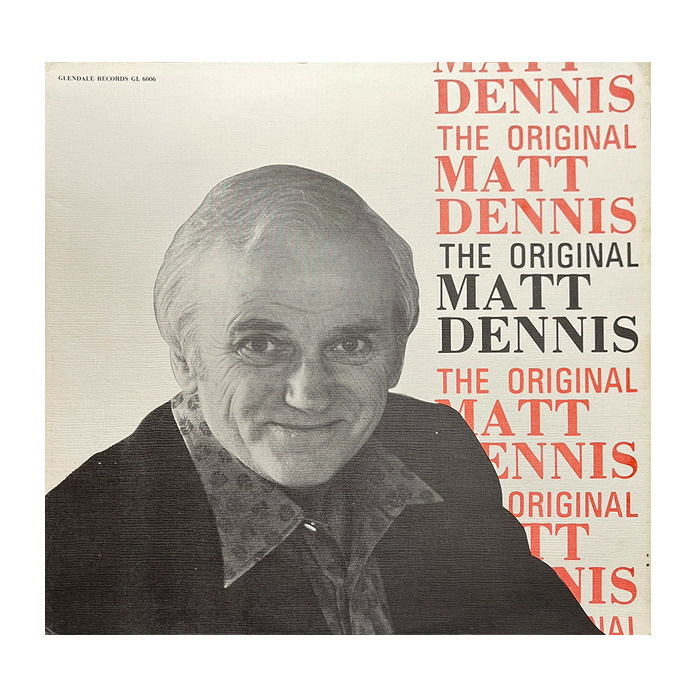
The finished image is 800 by 759 pixels, which is fairly near to a square, so no resizing (in paint.net) is necessary in this case
If you have any questions, I'll be happy to answer them on the forums.
Good luck with your editing!... scrough